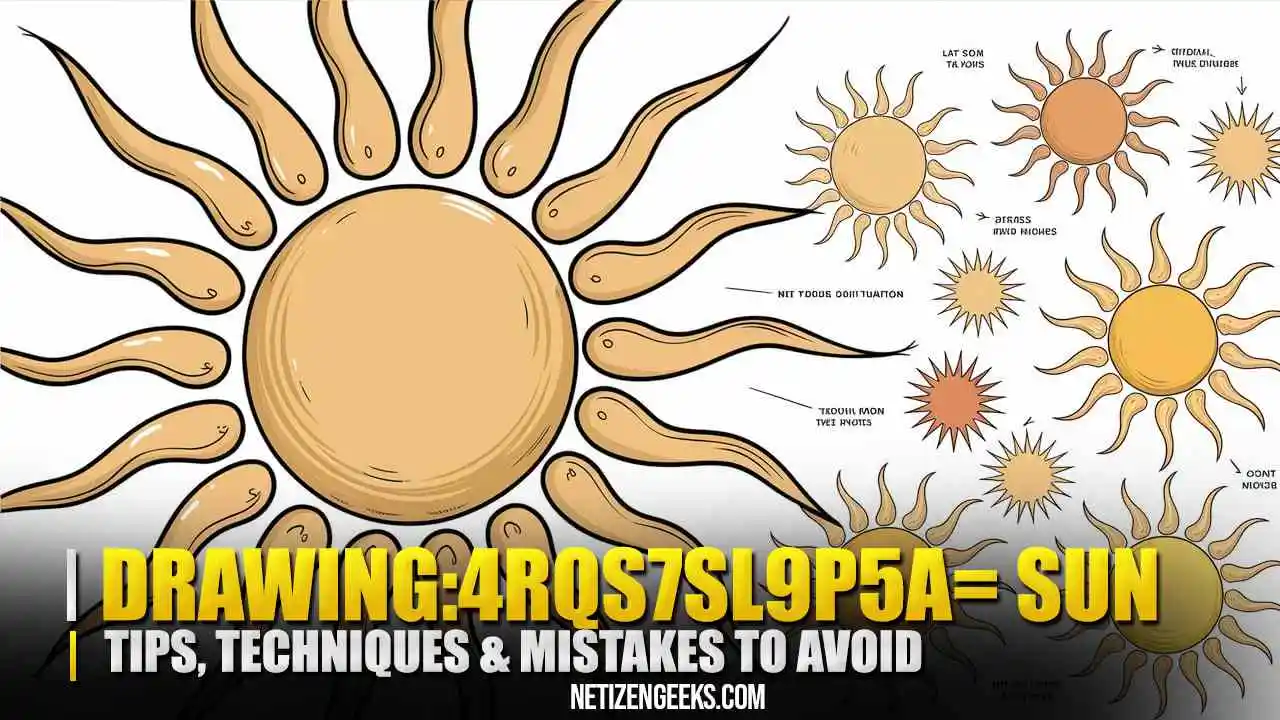
Drawing:4rqs7sl9p5a= sun Tips, Techniques & Mistakes to Avoid
drawing:4rqs7sl9p5a= sun might look easy at first, but capturing its brilliance takes patience and skill. It’s not just about sketching a circle with rays; it’s about creating depth, light, and texture. Mastering this can boost your ability to handle shading and lighting in other artworks too.
Whether you’re new to drawing or already experienced, learning to depict the sun will improve your artistic skills. With the right techniques and tools, you can make your sun drawings truly stand out, adding life to your compositions.
What is the Mystery Behind Drawing:4rqs7sl9p5a= sun?
The mystery behind “Drawing:4rqs7sl9p5a= sun” could symbolize an abstract approach or hidden technique in drawing. Sometimes, these cryptic codes inspire artists to think beyond traditional forms, pushing the boundaries of creativity.
It might hint at a unique way to represent the sun, focusing on capturing its light, warmth, or energy in unexpected ways. The meaning behind the code could challenge conventional techniques, encouraging artists to explore new methods of expression.
For artists, deciphering such mysteries is part of the creative journey. Tackling this code could open doors to fresh ideas, turning a simple sun drawing into something far more symbolic and impactful.
Also Read: gold:gag2hq_k40w= lamborghini: A Masterpiece of Luxury
Tools You Need for Drawing
To create stunning sun drawings, having the right tools is essential. A good set of pencils, quality paper, and effective erasers can make all the difference. Each tool contributes to achieving the desired effect, allowing you to express your artistic vision fully.
Pencils: From HB to 6B
Pencils are crucial in drawing, with varying hardness levels to suit your needs. An HB pencil is perfect for light lines, while softer pencils like 4B and 6B create richer, darker shades. Experimenting with these different types helps you master shading and detailing in your sun drawings.
Paper Quality
The quality of your paper can significantly impact your drawing experience. Smooth paper is excellent for detailed work, while textured paper adds a unique character to your art. Choosing the right paper ensures that your sun’s brilliance shines through beautifully.
Erasers and Blending Tools
Erasers and blending tools are essential for refining your artwork. A good kneaded eraser allows you to lift graphite gently, creating highlights in your sun. Blending tools, such as tortillons, help smooth out transitions, enhancing the overall depth and realism of your drawing.
Step-by-Step Guide to Drawing the Sun
Drawing:4rqs7sl9p5a= sun can be a fun and rewarding process when you break it down into simple steps. This guide will help you create a stunning sun illustration from the basic outline to the final touches. By following each step carefully, you’ll capture the sun’s warmth and brilliance on paper.
Step 1: Drawing the Basic Outline
Start by sketching a simple circle to represent the sun’s body. Keep your lines light and loose, allowing for adjustments as you go. This basic shape will serve as the foundation for your drawing, so ensure it’s proportionate and well-placed on your paper.
Step 2: Adding Sun Rays
Next, add sun rays extending outward from the circle. You can create straight or wavy lines, depending on the style you want. Varying the lengths and angles of the rays will add dynamism to your drawing, making it feel more alive and vibrant.
Step 3: Shading and Texturing
Once the outline and rays are in place, it’s time to add shading and texture. Use softer pencils to create gradients around the sun’s edges, giving it a glowing effect. Lightly blend the shading to achieve a smooth transition, enhancing the sun’s radiant appearance and making it pop off the page.
Mastering Sunlight Reflections
Mastering sunlight reflections can elevate your sun drawings to the next level. Capturing how light interacts with different surfaces adds depth and realism to your artwork. Whether it’s shimmering water or glossy objects, understanding reflections will enhance your artistic skills.
Drawing Reflections on Water
To draw sunlight reflections on water, start by sketching gentle waves or ripples. Use lighter pencil strokes to create a shimmering effect where the sun’s rays touch the surface. Adding soft highlights and blending them will give the water a realistic, reflective quality that mimics how sunlight dances on its surface.
Capturing Sunlight on Surfaces
When capturing sunlight on various surfaces, consider how light creates highlights and shadows. For example, on a smooth surface, use sharp contrasts between light and dark to depict the sun’s glow. Vary your shading techniques to reflect the texture of the material, whether it’s glass, metal, or fabric, to make your drawing more lifelike.
Exploring Different Artistic Styles for Drawing the Sun
Artists have various styles they can use to bring the sun to life, from highly detailed realism to bold abstract designs. Experimenting with different techniques allows you to express the sun’s beauty in unique ways. Each style offers a fresh perspective and adds creativity to your drawings.
Realistic Style
In a realistic style, the focus is on capturing the sun’s true appearance, with accurate shading, textures, and lighting effects. Artists use detailed techniques to show the sun’s intensity, glow, and even subtle solar flares. This approach brings a natural and lifelike touch to your artwork.
Abstract Sun Drawing
An abstract sun drawing plays with shapes, colors, and patterns to represent the sun in a more imaginative way. Instead of realistic rays or shading, you might use geometric shapes or swirls. This style allows for creativity and personal interpretation, making it a bold, artistic expression of the sun’s energy.
Tips for Beginners
If you’re just starting, keep things simple by focusing on basic shapes and light shading. Draw lightly to allow room for adjustments and practice adding rays with different styles. Don’t rush the process—learning takes time and patience.
- Start with a soft outline for the sun.
- Practice drawing straight, wavy, or zigzag rays.
- Use light shading to create depth and dimension.
- Experiment with different pencil types (HB, 2B, 4B).
- Be patient, and practice regularly to improve your skills.
Common Mistakes to Avoid When Drawing the Sun
One common mistake is making the sun’s rays too symmetrical and uniform. This can make your drawing look stiff and unnatural. To avoid this, vary the length and angle of the rays to give your sun a more dynamic and realistic feel.
Another error is using too much pressure when shading. Heavy pencil strokes limit your ability to blend and adjust. Always start with light shading and build up gradually to avoid making the sun’s surface too dark or flat.
Practice Makes Perfect: How to Keep Improving
The key to improving your sun drawings is consistent practice. Start by drawing simple suns regularly, experimenting with different shading techniques, textures, and rays. This will help you develop a better understanding of light and depth.
Additionally, explore different artistic styles. Try switching between realistic and abstract sun drawings to discover new ways to express sunlight. By stepping out of your comfort zone, you’ll sharpen your skills and creativity.
Also Read: kikuko2.net: Your Go-To for Tech and Lifestyle Trends
Conclusion
Drawing:4rqs7sl9p5a= sun is a creative process that allows you to explore light, shadow, and texture in unique ways. Whether you’re going for realism or abstract designs, practice and experimentation are key. With the right tools and techniques, you can master the art of capturing the sun’s beauty on paper.
Frequently Asked Questions (FAQs)
Use softer pencils for shading and blend transitions smoothly between light and shadow. Add texture to capture the sun’s glow.
Textured paper works well for adding depth, while smooth paper is great for detailed, clean drawings.
If you’re comfortable, adding color can enhance the vibrancy and realism of the sun, but starting with black-and-white helps you focus on shading.
Start light and gradually build your shading. Focus on creating smooth transitions without making any area too dark.
Drawing:4rqs7sl9p5a= sun Begin with a simple circle, add rays, and practice shading gently. Experiment with different pencils and practice regularly to improve.